Starting the Development Journey
The first day started with making the website live , Blogging on hashnode and Basic HTML Tag .


Table of contents
- Setup with visual studio code.
- Signing up on GitHub
- Signing up on Vercel
- Starting with HTML
- Starting with code
- Let's break down the common tags found in a typical HTML boilerplate
- Now starting a Resume building with a code in body tag
- Now starting with Resume to be live in vercel than I will update my resume in Upcoming days.
Setup with visual studio code.
In My college Web development journey is beginning from today . Today I downloaded visual studio code in my P.C. . Also downloaded all the extension will be required in Development journey behalf of HTML, CSS, JAVA SCRIPT .
Signing up on GitHub
GitHub is a web-based platform and service that provides a platform for version control using Git. It is widely used by developers to collaborate on software development projects.
I created my profile on github and created a first Public repository on github.
Signing up on Vercel
Vercel is a cloud platform that specializes in providing a seamless experience for deploying, hosting, and managing web applications. It is known for its simplicity, speed, and integration with popular frontend frameworks.
I created my profile on vercel.
Starting with HTML
HTML stands for Hypertext Markup Language .
HTML is used to structure content on the web, specifying elements such as headings, paragraphs, links, images, and more.
Starting with code
Now it's time for code.
Started with making a file in Visual studio code(Vs code) with name index
and extension .HTML , Now starting with a code
<!DOCTYPE html>
<html lang="en">
<head>
    <meta charset="UTF-8">
    <meta name="viewport" content="width=device-width, initial-scale=1.0">
    <title>Rohit kumar sah</title>
</head>
<body>

</body>
</html>
Starting with emmit shortcut.
By pressing ! + Enter this above showing code known as boiler plate code will be visible.
Let's break down the common tags found in a typical HTML boilerplate
<!DOCTYPE html>: This declaration defines the document type and version of HTML being used. In this case, it's HTML5.<html lang="en">: The opening tag for the root element of an HTML document. The lang attribute specifies the language of the document, which is set to English in this example.<head>: Contains meta-information about the HTML document, such as character encoding, viewport settings, and the document's title.<meta charset="UTF-8">: Specifies the character encoding for the document. UTF-8 is a widely used character encoding that supports a vast range of characters.<meta name="viewport" content="width=device-width, initial-scale=1.0">: Configures the viewport settings, helping to make the webpage responsive on various devices. Thewidth=device-widthensures that the width of the viewport is set to the device's screen width, andinitial-scale=1.0sets the initial zoom level.<title>Document</title>: Sets the title of the HTML document, which is displayed on the browser's title bar or tab.
<body>: Contains the main content of the HTML document, such as text, images, links, and other elements.
Now starting a Resume building with a code in body tag
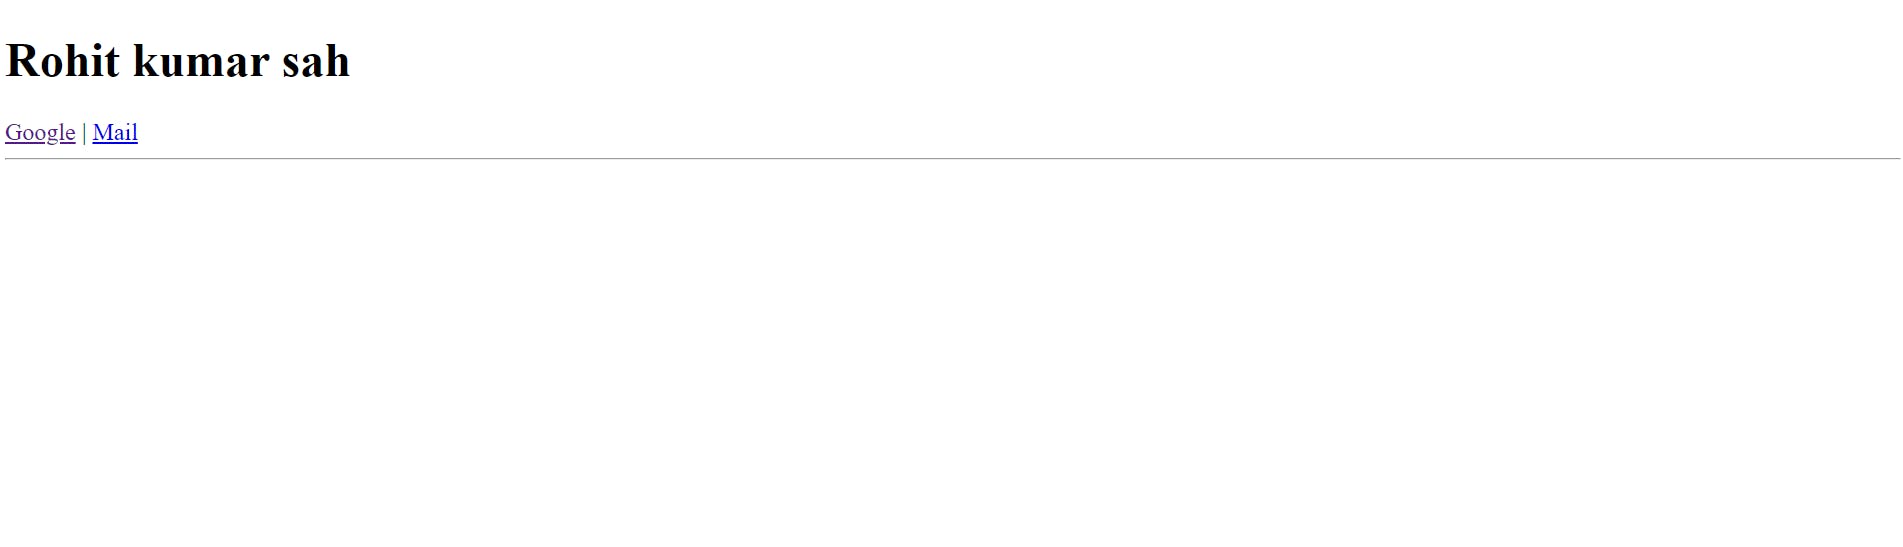
<h1>Rohit kumar sah<\h1>
<a href="https://www.google.com/" target="_blank">Google</a> |
<a href="mailto:rohitkumar233179@gmail.com" target="_blank">Mail</a>
<br>
This above code will give below results
Now starting with Resume to be live in vercel than I will update my resume in Upcoming days.
The repository I have created in github .
Push the written code in github with the hepll of below code.
git init
git add README.md
git commit -m "first commit"
git branch -M main
git remote add origin github.com/Rohitsah12/rohitresume.git
git push -u origin main
Now I pushed My code into github.
Now starting with vercel.
By deploying the project in vercel my website is ready for the world.
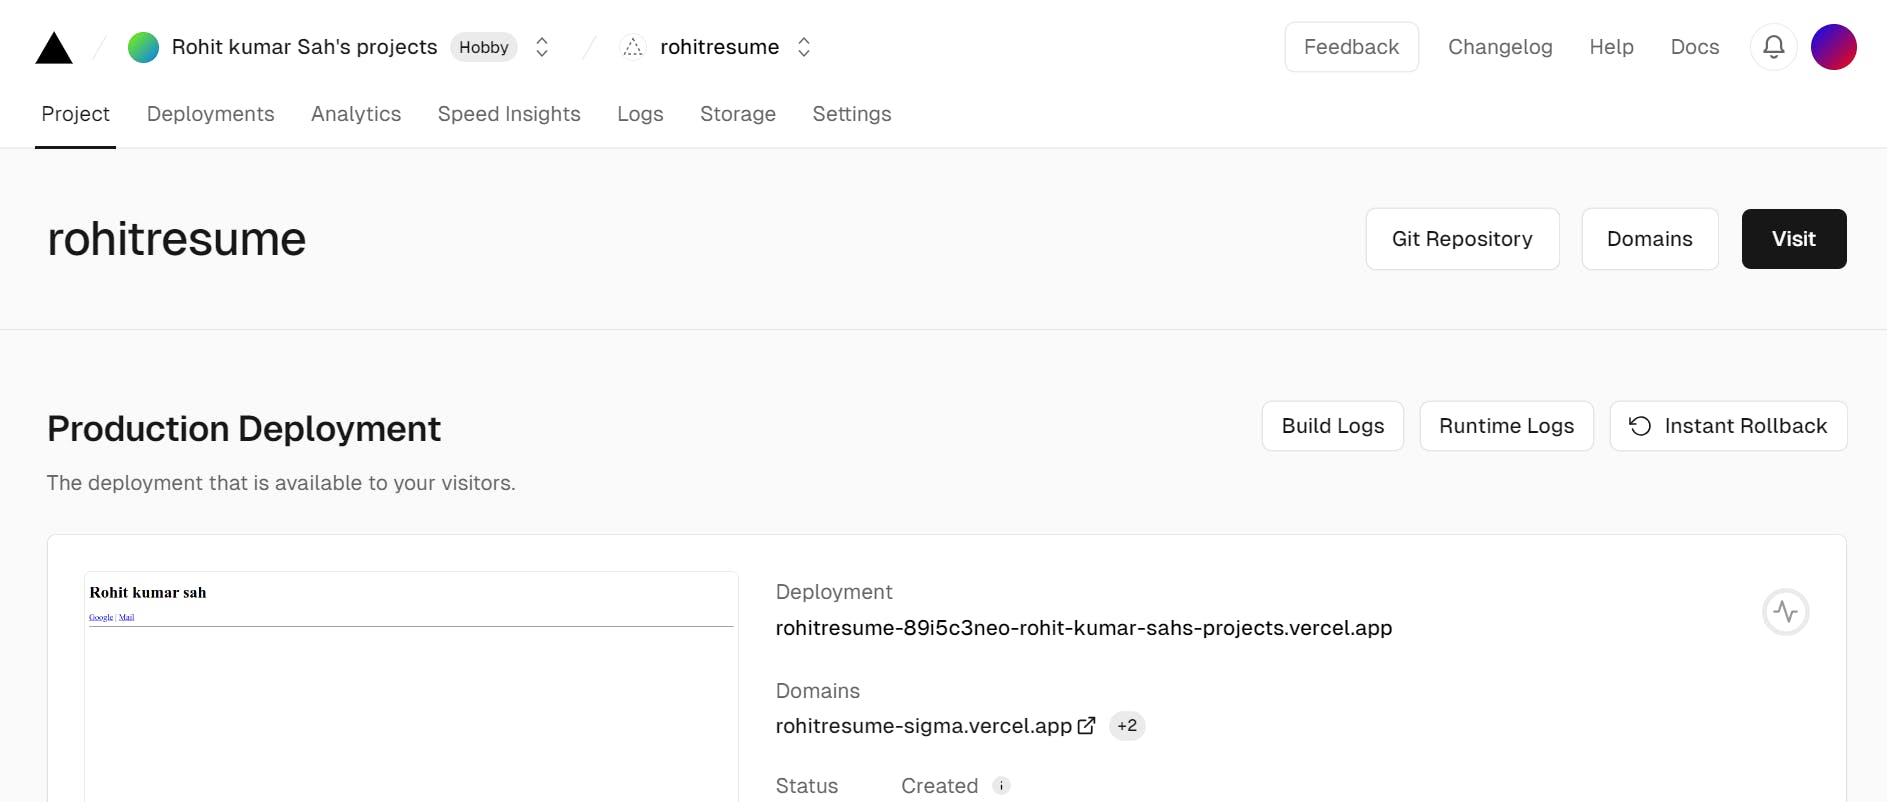
STAY TUNED!!!
For more update!!